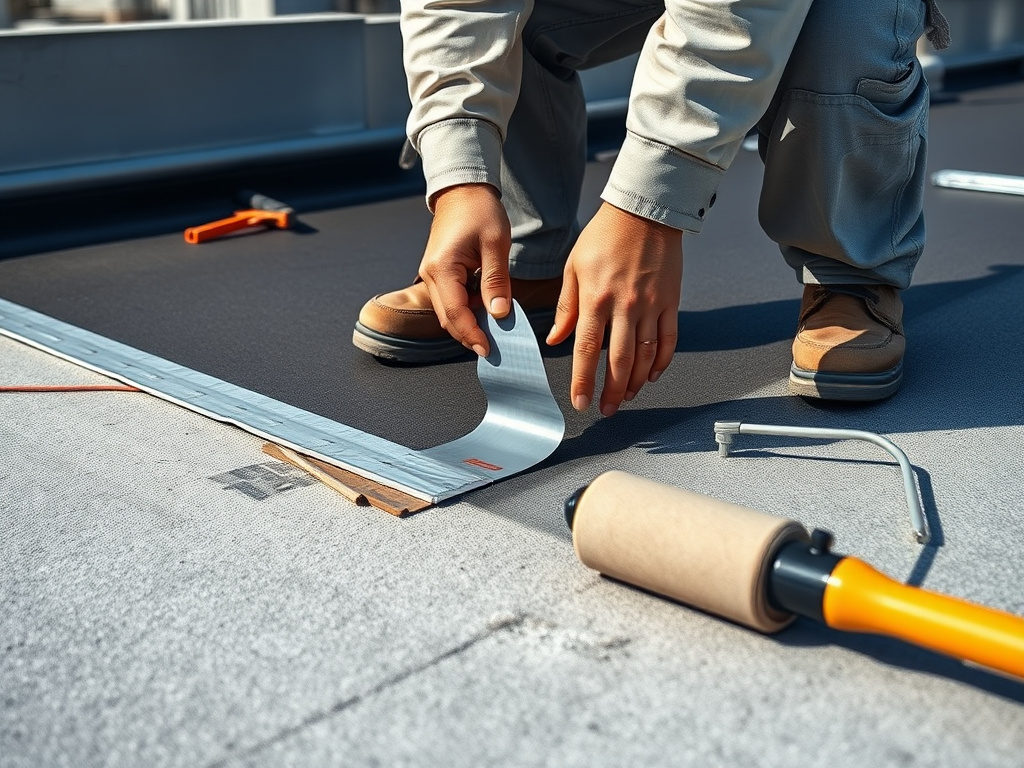
Method-first seam repair
EPDM Seam Splicing & Tape Systems
A failing seam has an obvious fix — tape it, splice it, move on. What determines whether that fix is actually safe for a warrantied roof is which splice system you use, and whether it's compatible with the membrane your original manufacturer installed.
Why the system matters more than the symptom
A split seam always looks the same. The correct fix almost never is.
Every failing EPDM seam presents the same way — a lifted edge, a visible gap, water tracking underneath during the next rain. Because the symptom is so consistent, it's tempting to treat the fix as a commodity: buy a roll of seam tape, press it down, and move to the next building. On a roof still inside an active manufacturer warranty, that shortcut is exactly how a repair goes wrong.
Manufacturer warranties on EPDM systems are conditional on the materials used to install and repair the membrane, not just on the membrane itself holding up. Splice tapes, cover strips, and primers are formulated as chemistry-matched systems — a specific adhesive designed to bond to a specific membrane formulation. Two rolls of tape that both say "EPDM seam tape" on the label can use meaningfully different adhesive chemistry underneath.
That's why the first question on a seam repair isn't "how do we tape this" — it's "which splice system was this roof built with, and what's compatible with it." A splice performed with an incompatible tape or primer can look identical to a compliant repair for months. The failure that eventually shows up is a bonding failure at the interface between old and new material, not a defect in either product on its own.
We treat the splicing system as the actual deliverable on this kind of repair — the taped seam is just the visible result of getting that upstream decision right. For related material questions beyond the seam itself, see our page on warranty-compliant patch materials.
This distinction matters most on roofs carrying an NDL or system warranty, where the manufacturer has assumed long-term financial responsibility for the installation and conditioned that responsibility on approved materials and, in many cases, a certified-installer requirement. A splice performed off that spec doesn't just risk the seam itself — it can put the manufacturer's basis for honoring a future warranty claim on the whole section, or occasionally the whole roof, in question.
Splice systems, in general terms
Manufacturer-compatible splice systems overview
Across the major EPDM manufacturer lines, splice and seam-repair systems generally fall into a few recognizable families. None of these descriptions are tied to one brand's exact current product name — the point is understanding the category so the right one gets matched to your roof.
- Cured cover tape systems — a self-adhering or primer-activated tape applied directly over a cleaned, primed seam to reinforce or replace a failed factory seam on cured (fully vulcanized) membrane.
- In-seam splice tape — a splice-grade adhesive tape installed between two membrane sheets during a field splice, distinct from cover tape applied on top of an existing seam.
- Primer/adhesive combinations — a manufacturer-specified primer applied before tape or liquid adhesive, formulated to prepare the membrane surface for that specific product line's bonding chemistry.
- Uncured splice and flashing accessories — non-vulcanized EPDM components used at details and transitions, which bond by a different mechanism than cured cover tape and are not interchangeable with it.
Choosing among these isn't a matter of preference or crew habit. It's determined by the roof's original membrane manufacturer, the membrane's cure state at the repair location, and — on a roof under an active NDL or system warranty — what that manufacturer's certified-contractor program actually specifies. Our manufacturer-certified repair programs page covers how those program requirements work in more depth.
It's also worth understanding that these systems are typically sold and specified as a matched set, not as interchangeable components. A manufacturer's approved primer is formulated to prepare the membrane surface for that manufacturer's own tape or liquid adhesive — swapping in a different brand's primer under a different brand's tape, even if both are individually good products, can produce a bond that neither manufacturer tested or approved. That's a subtle failure mode: the repair can look and perform fine in the short term while sitting entirely outside either manufacturer's warranted system.
On multi-building portfolios where roofs were installed under different manufacturer programs across locations, this also means the "same" seam repair can legitimately call for different splice systems from one property to the next. We confirm the manufacturer per building, not per portfolio, before a crew is dispatched.
Cured vs. uncured
Cured vs. uncured membrane splicing differences
Cured and uncured EPDM aren't just two textures of the same material — they bond differently, and a splice system built for one doesn't reliably work on the other. This is one of the most common places a well-intentioned repair drifts out of compliance.
Most of a typical EPDM field membrane is cured, which is why cured-membrane cover tape gets treated as the default answer on a lot of jobsites. But manufacturer flashing kits, pipe boots, corner details, and some in-seam splice components are frequently supplied as uncured membrane specifically because it can co-cure into a monolithic bond at complex geometry that a taped seam can't reach cleanly. Treating every splice on a roof as identical because "it's all EPDM" is exactly the assumption that produces a non-compliant repair at a detail, even when the field seams are handled correctly.
| Membrane condition | Cured (fully vulcanized) EPDM is the most common field membrane on older roofs. Uncured (non-vulcanized) EPDM is typically found at factory-seamed details, some flashing accessories, and certain manufacturer in-seam splice components. |
|---|---|
| Bonding behavior | Cured membrane bonds through an adhesive or tape layer applied between two finished surfaces. Uncured membrane can co-cure and chemically fuse to an adjacent cured sheet under the right primer and pressure conditions — a different bonding mechanism entirely. |
| Compatible splice approach | Cured-to-cured seams are typically addressed with cover tape or in-seam splice tape over a compatible primer. Cured-to-uncured or uncured-to-uncured detail work often calls for a manufacturer's specific uncured flashing or splice system instead of a standard field tape. |
| Common compliance error | Using a generic cover tape rated for cured membrane on an uncured detail splice, or vice versa — the adhesive chemistry and cure behavior aren't interchangeable even though both materials are technically "EPDM." |
| Verification step | Confirm membrane type at the specific splice location (not just the field membrane generally) before selecting cover tape, in-seam tape, or an uncured accessory system. |
General, brand-agnostic patterns across major EPDM manufacturer lines — confirm the specific requirement for your roof's manufacturer and warranty tier before a repair is scheduled.
Before we touch a seam
How we verify manufacturer and material before selecting a splice system
The splice system gets chosen after this process runs — not before. Skipping any of these steps is how a technically-correct-looking tape job ends up bonded to the wrong substrate.
Identify the manufacturer
Confirm the membrane's original manufacturer from roof records, membrane markings, or documented installation history rather than assuming from appearance alone.
Confirm warranty tier
Determine whether the roof carries a material-only, workmanship, or NDL/system warranty, since the required splice system and installer certification can differ by tier.
Test the cure state
Check whether the membrane at the specific splice location is cured or uncured — this can vary by detail even on a single roof.
Match the splice system
Select the cover tape, in-seam tape, or uncured accessory system that's chemically compatible with the confirmed manufacturer, membrane, and cure state.
Document the repair
Record the material lot, splice location, and installer credentials so the repair supports the roof's warranty file going forward.
On most jobs this whole sequence happens during a single site visit — a roof with complete records and a clear cure state at every splice location doesn't need to slow the schedule down. It's the roofs with missing or incomplete documentation, or a mix of visible repairs from more than one prior contractor, where the verification step actually takes real time. We'd rather spend that time confirming the manufacturer up front than discover a mismatch after the splice is already bonded.
What compliance failure looks like
What a non-compliant seam repair looks like
A non-compliant splice rarely looks wrong at handoff. The tape is pressed down, the seam is flat, and the leak has stopped — for now. The problems that show up later are almost always chemistry problems, not workmanship problems in the visible sense: an adhesive family that wasn't formulated for the membrane it was applied to, or a cover tape rated for cured EPDM used over an uncured flashing detail.
Mismatched adhesive chemistry can present as a slow bond release at the tape edge months after installation, sometimes well outside the window a crew would associate with a fresh repair. By the time it's visible, the manufacturer's evaluation of a resulting warranty claim tends to focus on what material was used and whether it appears on that product line's approved list — not on how carefully the tape was pressed down at install.
The other common pattern is a wrong tape family entirely — a generic, hardware-grade seam tape applied to a commercial roof under a certified-installer warranty program. It may hold for a season. It typically isn't documented anywhere as a manufacturer- approved product, which puts the repaired section (and sometimes the surrounding warranty status) in question well before the tape itself physically fails.
If a previous repair on your roof used an unknown tape or adhesive, that's worth flagging before any further seam work happens — not after. See our comparison page, warranty-compliant repair vs. DIY & uncertified repair, for how manufacturers typically evaluate that kind of history.
None of this means every past repair needs to be torn out and redone. In many cases a non-compliant splice can be assessed, documented, and — where the membrane underneath is still sound — brought back into a compliant state with a proper cover-tape overlay in the correct system. The goal on an assessment call isn't to flag a problem and walk away; it's to tell you plainly whether what's already on the roof is a risk, and what it takes to fix it going forward without guessing.
Get your seam repair matched to the right splice system
Tell us your roof's manufacturer, or send photos if you're not sure. We'll confirm cure state and warranty tier before recommending a splice system — no obligation.
Related reading
Go deeper on material and program compliance
Warranty-Compliant Patch Materials
Why "it's all EPDM" is a myth for warranty purposes, and how patch material compatibility is confirmed before a repair.
Manufacturer-Certified Repair Programs
How certified/authorized-contractor programs work across major EPDM manufacturer lines, and why NDL warranties are gated behind them.
Warranty-Compliant vs. DIY & Uncertified Repair
A side-by-side look at how manufacturers evaluate a warranty question after an unapproved repair.